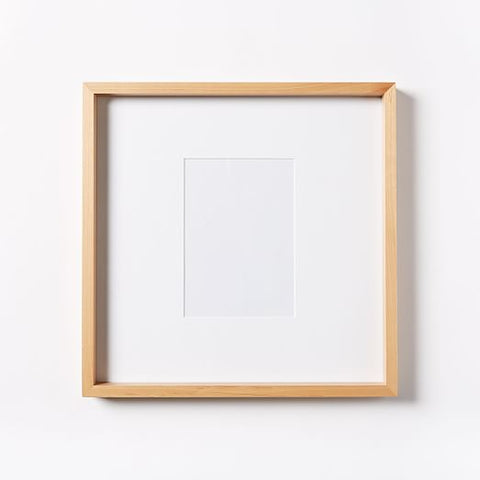
The term “fitting” refers to the process of assembling all the items that goes into the frame, backing and hanging hardware.
All artwork and glass must be cleaned and dusted off before assembly. Our framers use a pressurized air blower. Use a dusting brush for artwork and mat. For acrylic, we use an anti-static cleaner and an ammonia and color free glass cleaner to minimize chemical residue along with regular white or brown paper towels. Soft or fluffy ones tend to leave more lint.
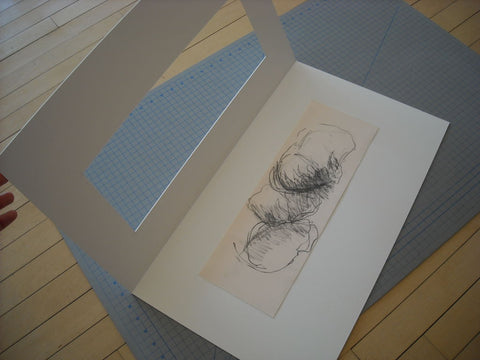
Here at 567 Framing, we use framer’s points to secure artwork and the backing board into the frame. We use either a handheld or pressurized tool at our workshop.After securing the artwork, the back is normally sealed with a single sheet of brown or black craft paper. For larger frames, two may be used and combined in the center either horizontally or vertically. Use a sharp cutting blade to trim excess paper so that it doesn’t fray.
A drill or screwdriver and screws are needed for installing hanging hardware. Choose the appropriate size for screws and D-rings as those will make or break the hanging system. This depends on the size of the moulding and weight of the frame with glass.
When choosing wire, use one that has a breaking point of about two to three times the weight of the frame. We use a “pretzel” knot after looping the wire through the D-ring (or eyehook). For oversize frames, only D-rings are required as a wire will put too much tension on the edges and the weight is not distributed evenly. This will eventually bow the frame. Sawtooth hangers can also be used for smaller frames. The wire should be placed between one fourth to one third of the way down from the top edge of the frame. Leave a bit of slack so that it can set onto a hanger with ease.
Fitting a Canvas
Once your canvas has been stretched, finish the look with a frame.
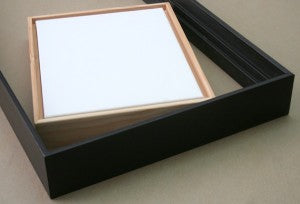
Floater frames as mentioned in article titled “Floater Frames” are specifically designed for canvas. The main difference in appearance is that the canvas seems to be “floating” within the frame. The canvas also does not touch the inside edges of the frame, the gap is normally 1/8” to 1/4”.
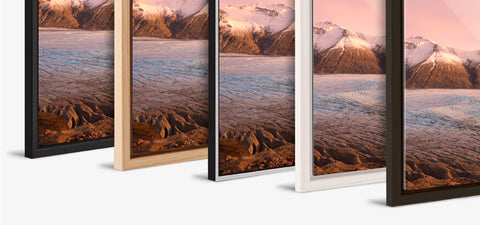
The canvas is then attached to the frame with offset clips. No glue or nails are needed.
Offset clips are often used when the canvas is deeper than the frame. They can be used on regular frames as well. These also come in various heights so once you figure out the correct depth, all you have to do is screw it in. Usually only one clip is needed on each side.
For floater frames, the offset clips are reversed. The higher side is attached to the frame because the canvas is sitting on the top side of the floater frame, which means it will always be “deeper” than the canvas. For regular frames, you may only choose to only screw the lower side of the clip to the frame edge. But for floater frames, both sides of the clip need to be screwed in.
Fitting Metal Frames
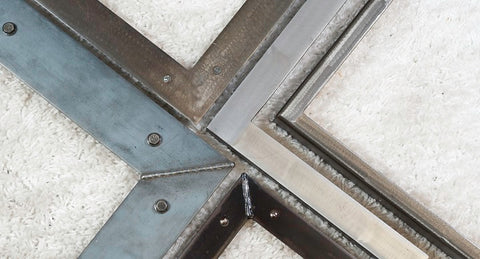
Metal frames are built differently than wood frame for obvious reasons. They require hardware, screws and springs. If for a DIY frame kit, these materials should come included in the package.
Unlike wood frames, metal frames have a track to which the contents would slide into. In most cases, metal frames are not ideal for shadow boxes. You may need to double up on your backing board so they can fit more snugly.
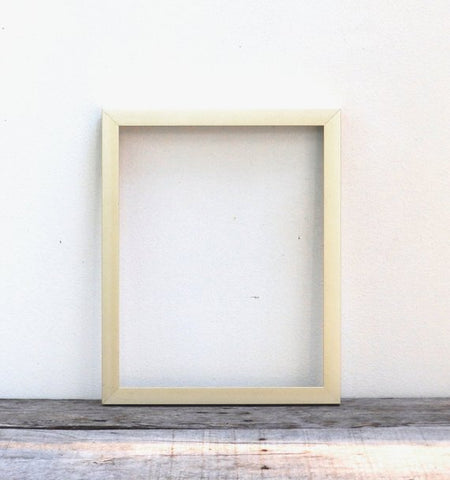
It’s important to have a clean work surface as the frame will be assembled face down. Have your “stack” ready, which is the glass, mat, artwork and backing board. Insert the L-shaped corner pieces into both ends of one frame section. Slide two adjoining sections into the hardware, creating a U-shape. Tighten the screws, and adjust to make the corner join neatly. Insert your stack.
Join the remaining L-shaped corner hardware and frame section. Again, adjust the alignment as you screw in the last two pieces. The additional space that is left will be filled with spring clips. Place one on the backing with arch side up. Press down on the center and slide it between the backing and the frame rail. This will push the contents towards the front. For smaller frames, four clips are needed as a minimum. For larger frames, you may need one every few inches apart.
The hanging hardware is snapped into place onto the channels on the back of the frame. Be sure to measure both sides for even placement before doing so. Loop wire through the holes. Remember, “pretzel” knot, then twist the remaining wire around itself and cut off the rest. If the hanger is loose or moving around easily, bend the wings of it and reinsert.
Fitting Wood Frames
Fitting wood frames require a different strategy than metal frames. There are several components and steps.
- Basic fit, this involves stacking the artwork, mat, glass and backing board. Use magic tape and tape along one side of the this stack. Then tape 1/8” along the surface of the glass and the rest to the backing board. Do this for the other three sides.
- If using spacers, lay the glass inside the frame with the surface of the frame on the table. Glue strips of spacers to the inside of the frame, or adhere to the bottom side of the glass depending on spacer type. Spacers will be hidden by the lip of the frame rabbet.
- Insert the stack into the frame. Insert pointers 2-3” apart. Be sure not to apply too much pressure as this may cause buckling of the artwork or mat. This may be done with a hammer, but professionally, we now have pressurized point guns for speed and accuracy. Add an extra backing board if frame is large.
- Seal with back with kraft paper (aka dust cover). Apply double-sided tape to the back edges of the frame. Lay the paper on the long edge, then pull and smooth out as needed to make the paper taut. Trim the excess paper with a sharp blade or knife for a cleaner cut. Dull blades will tear the paper.
- If you are thinking of changing the artwork inside, use soft nails instead of pointers. Once inserted, these can be flipped upwards. You may also tape the back edges of the frame if not using backing paper.
- The last step is installing the wire. Measure from the top of the frame, 1/4 to 1/3 of the way down. Using an awl, poke two holes where you had marked. Set the screw inside the screw hole of the D-ring and drill downwards. Make a pretzel knot, wrap the excess wire around itself about 1-2” and cut off the rest. Repeat on other side. As previously mentioned in “Fitting Basics”, leave a bit of slack for easier hanging.
- If necessary, add rubber bumpers to each corner at the bottom of the frame to avoid scratches to your wall.
